
전략이 추가됨. 추가자: Yara#1800
|
Average rating: |
0 |
|
Ratings: |
0 |
|
귀하의 투표: |
|
Creator |
|||||||||
|---|---|---|---|---|---|---|---|---|---|
|
Tags
Filter strategies:
|
|||||||||

모든 레벨 25+ 마법
|

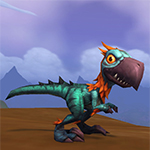
Sharptalon Team Rumble
Strategy tested and passed: January 8th 2019, no changes made |
2 | 5.0 |
N/A | 2 |
165
2:45
|
23+ | ||
|
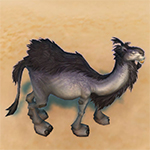
The script should cover any of the weirdness that happens if the Camel survives past round 15
*fingers crossed* Video for Fight |
스크립트 |
2 | 5.0 |
N/A | 1 |
167
2:47
|
25 | |
모든 레벨 25+ 야수
|
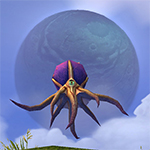
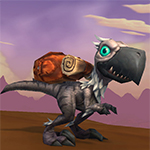
Bloodgazer Team Rumble
Strategy tested and passed: January 8th 2019, changed Turn 2 from 2-5 to 2+, and added information below Turn 11+ |
알엔지 |
2 | 0.0 |
N/A | 0 |
170
2:50
|
23+ | |

|
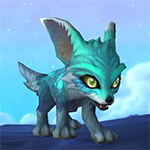
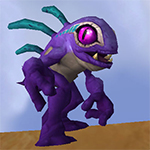
Snowfeather Team Rumble
From Chamunda in comments: Curse of Doom & Haunt must both hit Vinu. If not, restart. Strategy tested and passed: January 8th 2019, no changes made |
알엔지 |
2 | 0.0 |
N/A | 0 |
170
2:50
|
25+ | |
|
I mitigated most of the RNG that comes with the reduced hit chance. The only thing that might happen is a big crit and you can't apply Whirlpool a second time :(
Video for Fight |
번식 스크립트 |
2 | 0.0 |
N/A | 0 |
200
3:20
|
26 | |
|
|
스크립트 |
2 | 0.0 |
N/A | 0 |
160
2:40
|
23+ | |
|
Hope this helps, never did a strategy so didn't save my steps :/
|
알엔지 |
2 | 0.0 |
N/A | 0 |
200
3:20
|
20+ | |


|
|
스크립트 |
2 | 0.0 |
N/A | 0 |
170
2:50
|
20+ | |

모든 레벨 25+ 휴머노이드
|
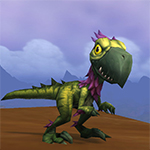
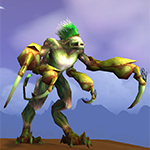
Direbeak Team Rumble
Changed pet in slot 2, reworked ablities used when on Direbeak and strategy rewritten, tested and passed on January 8th 2019 |
2 | 1.0 |
N/A | 0 |
170
2:50
|
25+ |
Incl. steps:


Hope this helps, never did a strategy so didn't save my steps :/
For the best display of your strategy, please follow these guidelines:


For the best display of your strategy, please follow these guidelines:
For the best display of your strategy, please follow these guidelines:
For the best display of your strategy, please follow these guidelines:
For the best display of your strategy, please follow these guidelines:
For the best display of your strategy, please follow these guidelines:
For the best display of your strategy, please follow these guidelines:
For the best display of your strategy, please follow these guidelines:

Robust, with hints of blackberry, anise and pepper.


1
DragonsAfterDark
글 올리기 2022-08-23 03:54:19
For me, when my Blistering Cold missed I stayed in and Chopped until it came back up again, and thankfully it applied the second time, then managed one final Chop before I died for good. Had the same issue with getting Black Claw applied for the Sharpclaw, and once I did I was dead, so I used Unholy Ascension, which thankfully did not miss. Then I Crouched > Falcosaur Swarm! with the Snowfeather since Predatory Strike wasn't slotted at the time. If I hadn't had Unholy Ascension applied, I can't say I would have finished this fight with a win.
새로운 댓글: