
1
1
|
平均評分: |
3 |
|
評分: |
2 |
|
你的投票: |
|
Creator |
|||||||||
|---|---|---|---|---|---|---|---|---|---|
|
Tags
Filter strategies:
|
|||||||||
|

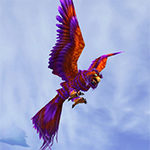
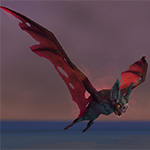
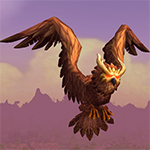
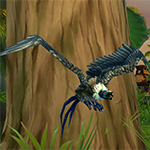
Night flight. When it works, it really works. When it doesn't... well, you get the idea.
|
商店 |
2 | 4.7 |
N/A | 9 |
9999999- | - | |
|
|
屬性 |
2 | 3.8 |
N/A | 10 |
9999999- | - | |
|
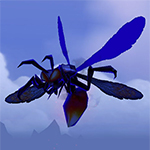
This strategy works primarily on damage mitigation. Imperial Moth using Cocoon Strike and Mechanical Axebeak using Decoy to that effect. Use Long-Eared Owl to change weather when needed. Most flying are faster that other breeds so I found I usually was able to hit first.
|
2 | 5.0 |
N/A | 1 |
9999999- | - | ||
|
|
屬性 |
2 | 4.8 |
N/A | 3 |
9999999- | - | |

|
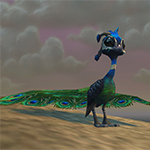
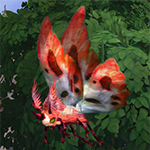
Every one of those has some kind of defensive skill.
|
2 | 3.0 |
N/A | 1 |
9999999- | - | ||
|
The team was created by the Youtuber Discodoggy, who kindly allowed me to add this to our collection.
If you want to see these pets in action watch his video. This team isn't about combos or synergies but every on of these pets can perform very well on it's own. |
屬性 |
2 | 1.0 |
N/A | 1 |
9999999- | - | |

|
2 | 2.0 |
N/A | 2 |
9999999- | - | |||
|
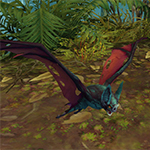
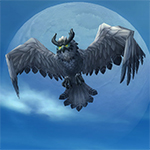
If you go against 2+ Dragons is generally best to forfeit to save time. Northern Hawk Owl can potentially one-shot one, but you will struggle against two or more.
Take advantage of Flying's extra speed above 50% health and be aware when they will attack first. It took me 15 battles to get 10 wins. Most of my losses were against multiple dragons |
2 | 2.0 |
N/A | 0 |
9999999- | - |
包括步驟


Substitutes:
1 / 18

Every one of those has some kind of defensive skill.
For the best display of your strategy, please follow these guidelines:


For the best display of your strategy, please follow these guidelines:
For the best display of your strategy, please follow these guidelines:
For the best display of your strategy, please follow these guidelines:


1
Creek
發表在 2020-06-03 21:52:41
1
Trelander#1221
發表在 2020-03-15 02:39:21
3
Dor 發表在 2019-04-08 00:17:20
新留言